Affichage des articles dont le libellé est everyday matters. Afficher tous les articles

vendredi 29 novembre 2013

Making an album

Recently, I celebrated my two years anniversary with my boyfriend. We usually give each other a gift, and so this year since I starting making hand bound books, I decided to make a photo journal of sorts. I took an old book with a sturdy cover and painted it blue. After that, I used duck tape (fancy one!) on the spine inside and outside the journal to make it sturdier. I got my favorite pictures printed (on my "to do in the future" list: figure out if I can print on photo paper with my printer, and do it!) and got to work! 


I used watercolour paper in the journal, it is thicker than regular paper and has a nice texture. I glued all pictures before I added washi tape around some of them. All rectangle pictures were printed elsewhere but the ones with special frames like the round ones (thank you hipstamatic) I printed at home on regular paper, and I think it looks good!


We went on so many adventures this year, and I had a lot of great pictures! I can't wait for the next adventures!


This project took 2-3 days to complete. I hand bound the journal in an evening, but then painting and letting dry the cover took some time, and when everything was done I added a coat of medium gloss gel to give shine and varnish to the cover, and for added protection.

dimanche 24 novembre 2013

My first hand-bound journal

This November, I stitched and glued and constructed my first hand-bound journal!

I bought the class of Mary Ann Moss from Dispatch from LA called "Ticket To Venice" a.k.a TTV. It is pure happiness: in this class, we can come along to her Venice trip and look at all her pictures, watch videos of her in Venice, and she also shows two or three stitching techniques, plus a very user friendly how to to learn how to make a journal (or a travel journal, since this class is centered around her trip in Venice), fill it, use it! I think I bought this class in October, but I first tried (and successed) making a journal in November.

It was a wonderful experience and I bought quality equipment so I am ready to make many more journals! Let me show you what I did:

Here is the cover of my new journal, I bought an old italian dictionary to use the cover, and covered it with a special wrapping paper.

I used the beginner's stitch.


This is at the end of my journal. I used a stamped flower to decorate, some paper from a moleskine pamphlet, washi tape, and duck tape


My first page! It reads: Productive day in the studio.


I used a variety of papers: some watercolor paper, some decorative paper, bits and pieces of this and that, and magazine pages cropped to fit the journal for the only purpose of writing.


Here you have decorative paper, covered by a smaller page of heavy watercolor paper, and a postcard taken from TTV class.


One of the magazine pages


Another


I've had this paper for years and didn't know what to do with it, until now!


And finally the cover of my journal!


I made my first journal smaller than the ones I usually use (I have a friend who made me several art journals) because I wanted to get back to the habit of daily journaling. I am still working on it, but I am so happy and so proud of the result!! I love using a journal that I made myself, it adds so much to the experience!

jeudi 3 octobre 2013

Going to Mexico

In two weeks, I'm going to Mexico with my family, to a resort where everything is already paid for. I've never been in such a trip before, so I'm getting ready by looking for traveling tips and tricks online, reading reviews of the resort, and of course I'm preparing my travel journal!

I don't have an "I always do this or that" because I don't travel that often, but I do always have a journal in progress. So, since my budget is restricted right now, I decided to use a new journal that I already have. This is a pocket sketchbook Moleskine:


I have not yet decided if I am going to glue something on the cover or not, but I intend while I'm there to bring it with me wherever and write and draw as much as possible, and also collect different ephemera to glue in later.

Here are a few other pages:


As you can see, I painted some pages with acrylic craft paint, to give color and a certain grip to the texture of the page. I also glued in some pieces of paper with washi tape to add little pages, and some magazine pictures (the Corona ad). I have a punch (Fiskars) to make the holes in the corners of the pages, witch I love it is very decorative!


I will bring a selection of pens, two water brushes and a small kit for my watercolor. I don't find the picture so I will show you the kit later, but here is a sample of colors I have and mixed only with this kit:


Thank you for visiting, and don't hesitate to leave a comment! :)


dimanche 22 septembre 2013

Pages récentes / Recent pages

J'aimerais partager avec vous les pages les plus récentes de mon cahier. Ce que j'aime faire entre autres, c'est peindre le fond de la page avec de l'acrylique (j'utilise surtout Americana et Ceramcoat, deux marques qui se vendent en petits pots pratiques et très abordables) et de faire plusieurs pages de différentes couleur d'un coup. Je ne prévois pas vraiment l'utilisation, j'y vais plutôt avec les couleurs qui me tente dans le moment. Selon la marque, je vais obtenir un fini lisse ou mat et presque rugueux. Ici, pour la page rose fluo, j'ai utilisé se l'acrylique en tube qui a généralement un fini lisse et brillant, et est moins liquide que l'acrylique d'artisanat que j'achète.

Ici j'ai peint le fond d'un bleu/gris foncé, et j'ai dessiné des motifs en haut et en bas de la page avec un crayon acrylique.


Dans la page de droite, j'ai étiré la couleur en mettant la peinture saturée au milieu et en trempant mon pinceau dans l'eau et en étendant ce qui restait de peinture de mon pinceau sur le papier.


Ici à gauche, j'ai simplement barbouillé ma page avec des crayons aquarelle, et je suis passée par-dessus ensuite avec un pinceau mouillé sans trop peser fort pour garder le trait de crayon et ne pas tout diluer, tout en fixant la couleur sur la page.


Ici c'est un mélange de peinture acrylique et de crayon aquarelle.


Je fais souvent des portraits simplistes dans mon cahier (en écoutant de la musique ou une série télévisée). J'aime beaucoup le mélange de l'aquarelle, et des lignes d'encre appliquées à la plume par-dessus.


Ici on a deux fonds à l'acrylique, à gauche j'ai fait le dessin au feutre puis j'ai rajouté la couleur peau à l'acrylique, et finalement j'ai coloré avec des crayons acrylique et de l'aquarelle. À droite, j'ai collé un papier fedex sur lequel j'ai appliqué librement de l'aquarelle, et de la colle à paillette or.


En dessous du papier Fedex, il y a cette phrase écrite à l'encre, les lettres colorées au crayon de bois.


À gauche, j'ai dessiné ma tasse de café sur un fond d'acrylique, et j'ai écrit à l'entour. À droite: fond d'acrylique, écriture à l'encre, l'espace négatif ensuite coloré au crayon de bois.


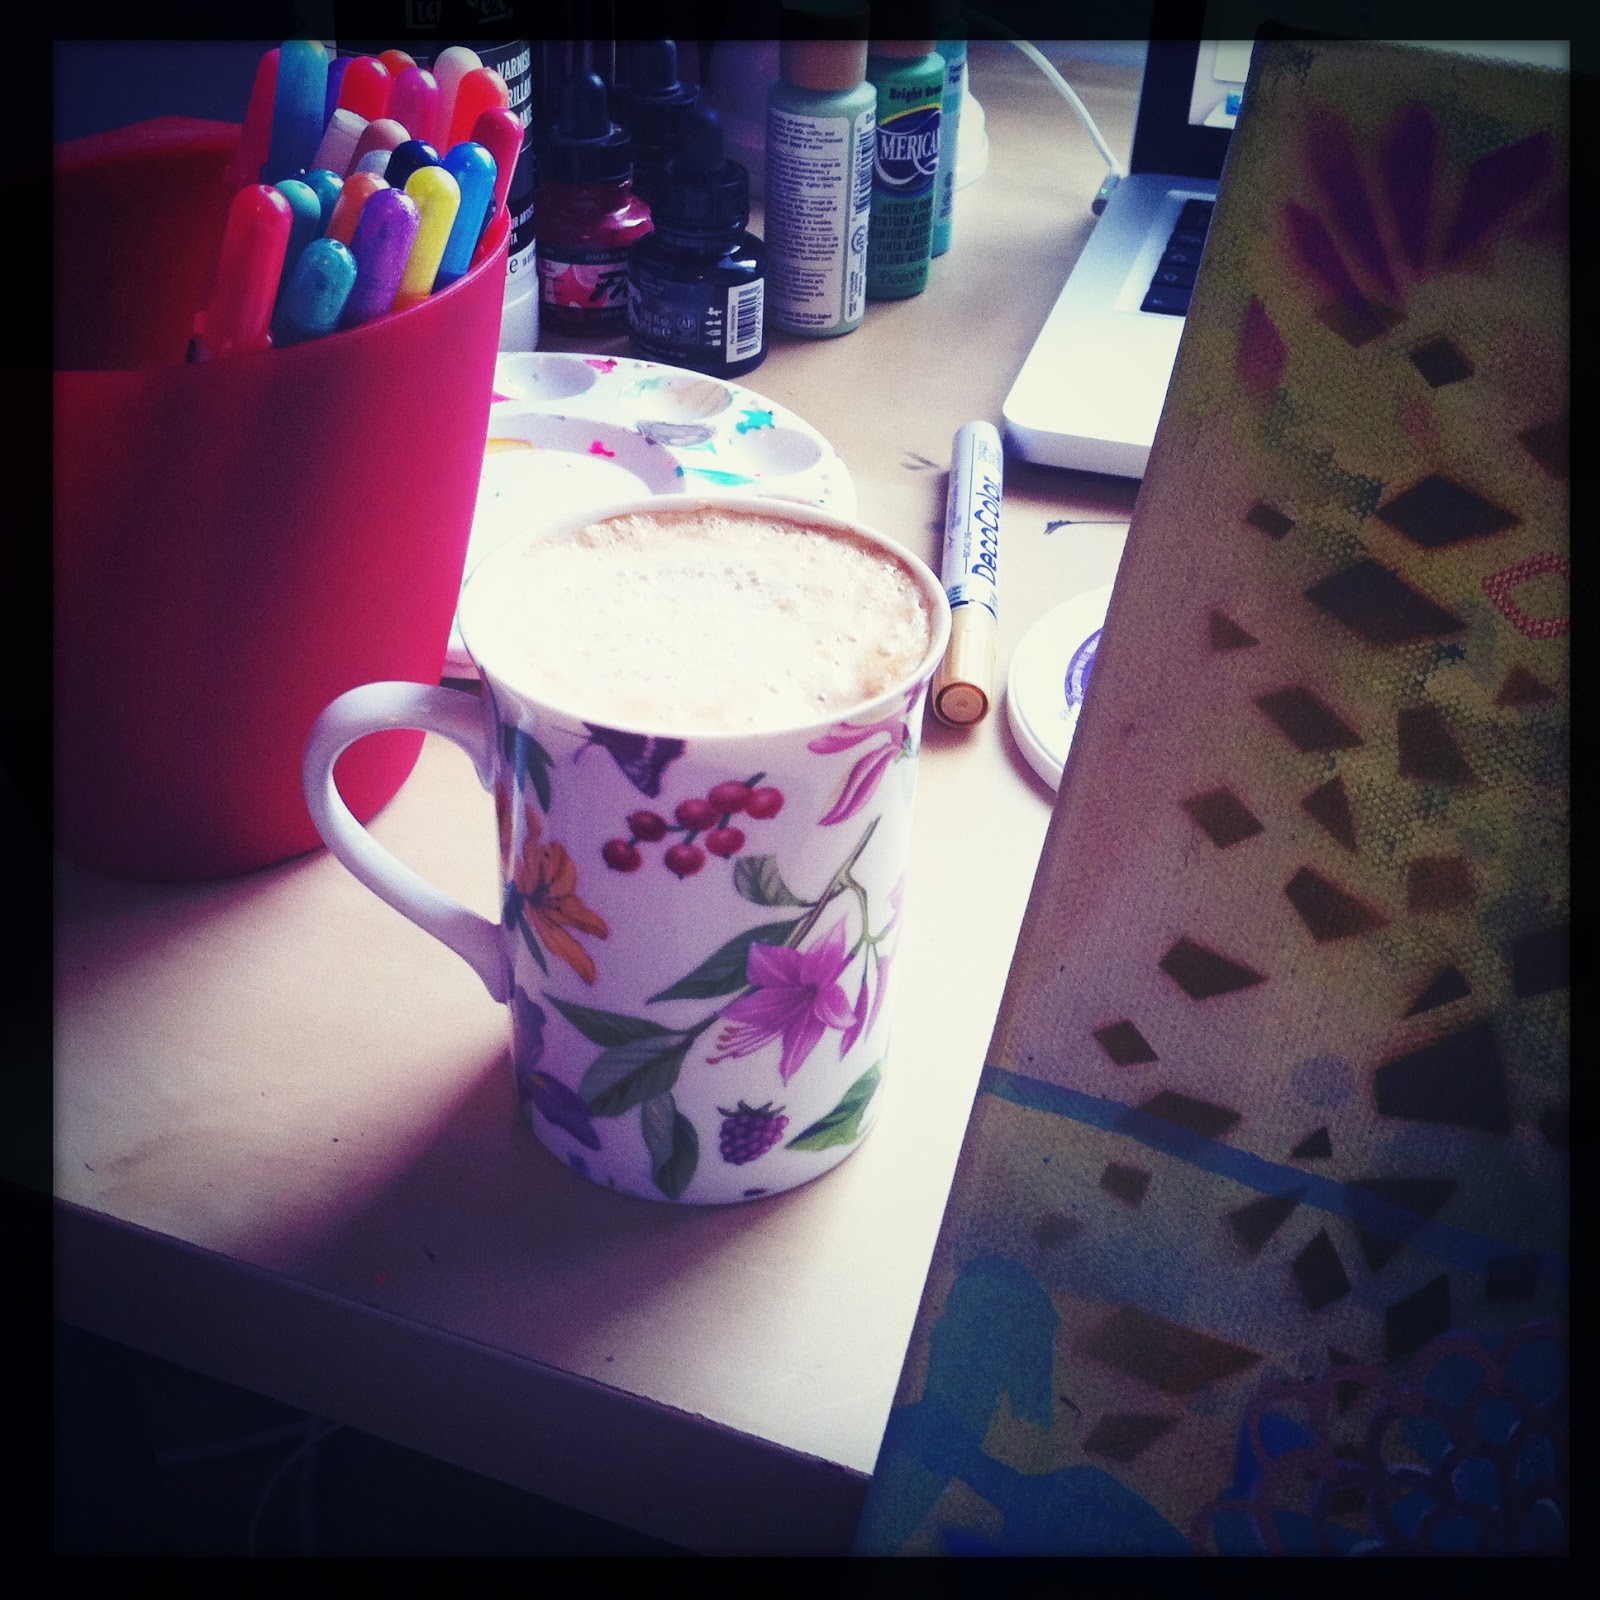
Ici j'ai dessiné mon café, rempli l'espace vide à l'entour d'aquarelle, et ensuite écrit. À droite, dessin et écriture avec crayons gel Sakura sur fond d'acrylique noire.


Deux dessins faits bien rapidement: celui de gauche avec sharpies et aquarelle, celui de droit, encre et aquarelle.


J'aime beaucoup dessiner et peindre des motifs dans mon cahier. Je trouve qu'avec l'aquarelle, je peux trouver une infinité de couleurs et toutes les faire ressortir. C'est très méditatif.


Un petit Pep Talk, et un dessin de mon café dans un pot masson.


dimanche 15 septembre 2013

Pictures of everyday creativity

Un dessin fait sur le coin d'une table chez mes beaux-parents // A drawing made at my step parents.

Pour faire une liste, on commence par des bandes de couleurs inspirantes... // To make a list, you begin with color.


Peinture / Painting